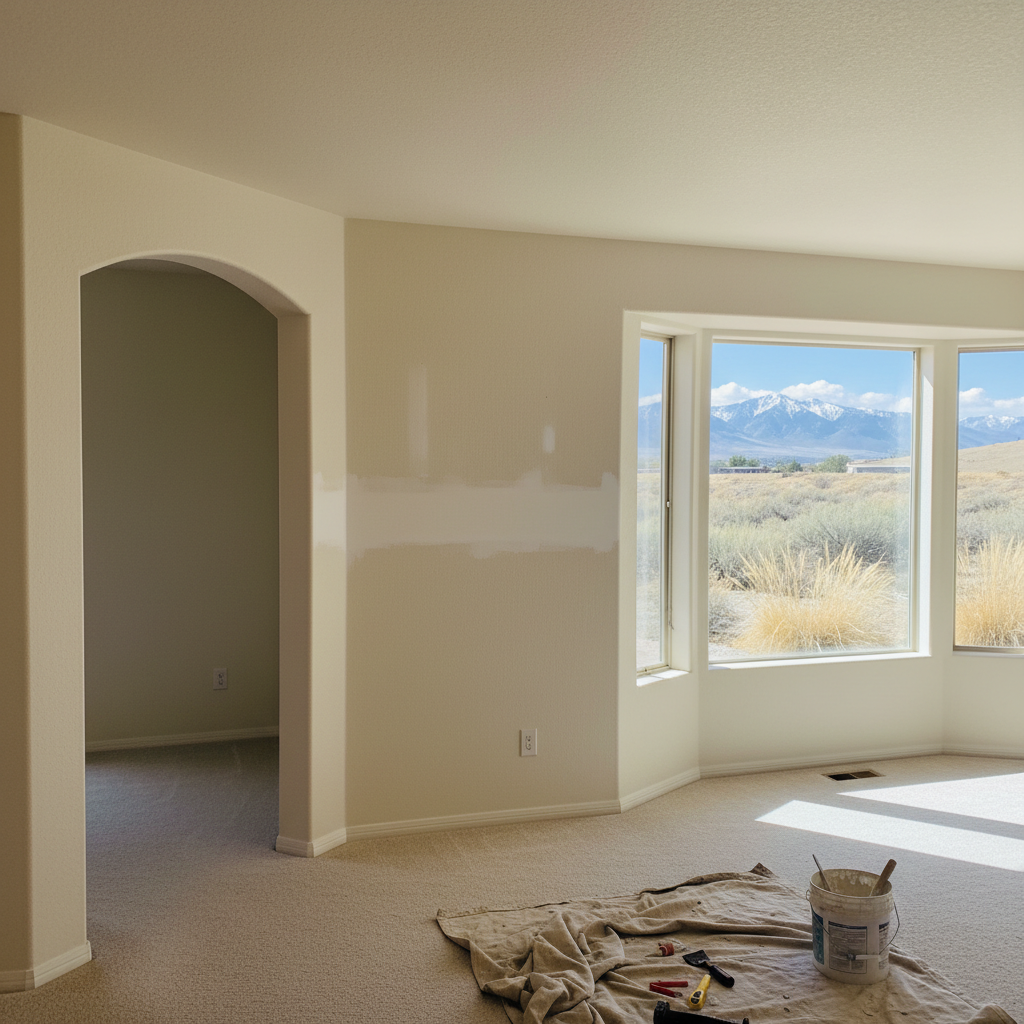
Alright, so you've got some drywall that needs fixing. Maybe it's a hole from a doorknob, some water damage from that leaky upstairs toilet, or just general wear and tear. Whatever the problem, you're probably wondering what goes into getting it fixed right. It's not just about slapping some mud on it; there's a real process involved, and knowing what to expect makes everything a lot smoother.
Setting Your Project Timeline
How long does a drywall repair take? That's usually the first question I get. The honest answer is, it really depends on the size and complexity of the repair, but also on the drying times. You just can't rush drywall mud. If you try, you'll end up with cracks or a finish that just doesn't hold up over time.
- Small Patch (e.g., nail hole, small dent): This is often a quick fix. We're talking maybe an hour or two of actual work, but then you've got drying time between coats. You might see us for an hour, then we'll come back the next day for a quick sand and texture. Total calendar time? Usually 1-2 days.
- Medium Repair (e.g., fist-sized hole, water stain): This needs a bit more attention. We'll cut out the damaged section, add backing, put in new drywall, apply multiple coats of mud, sand, and then texture. This could be a few hours on day one, then a couple more visits for subsequent coats and finishing. Total calendar time: 2-4 days.
- Large Repair or Ceiling Section (e.g., flood damage, ceiling collapse): Now we're talking a much bigger job. This might involve removing insulation, making framing repairs, hanging new sheets, and then the whole mudding and finishing process. A job like this could easily stretch over a week, especially if there's significant water damage that needs to dry out completely before we even start the drywall work.
Remember, these timelines always include drying time. We can't just apply another coat of mud or paint if the previous layer isn't fully cured. Especially here in Taylorsville, with our dry climate, things can dry faster than in more humid places, but you still can't push it too hard. That's just asking for trouble.
What to Expect During the Process
When you hire a pro, here's what typically happens:
- Assessment & Quote: We'll come out, look at the damage, and give you a clear estimate of the work and cost.
- Preparation: Before we start, we'll lay down drop cloths, tape off areas, and generally protect your belongings from dust. Drywall work is dusty, no two ways about it. We do our best to contain it, but expect some fine dust.
- Repair Work: This is where the magic happens. Cutting, patching, mudding, sanding. It's repetitive, but absolutely crucial for a smooth finish.
- Texturing: Most homes in Taylorsville have some kind of wall texture, whether it's orange peel, knockdown, or something else. We'll match that as closely as possible. This is where experience really counts, you know?
- Cleanup: We'll clean up our mess, vacuuming up dust and removing debris.
- Inspection: We'll walk through the repair with you to make sure you're happy with the work.
How to Prepare Your Home
You can help us out and make the job go faster by doing a few things before we arrive:
- Clear the Area: Move furniture, artwork, and anything else away from the repair site. The more space we have, the better. If it's a ceiling repair, clear the entire room if possible.
- Remove Valuables: Take down curtains, blinds, and any delicate items that could get dusty or damaged.
- Cover What You Can't Move: If there's a big piece of furniture that's too heavy to move, throw a sheet or plastic tarp over it.
- Provide Access: Make sure we have clear pathways to the work area and access to power outlets if needed.
Seriously, a little prep on your end goes a long way. It means we can get right to work instead of spending time moving your stuff around.
Crucial Questions Before Signing a Contract
Before you commit to anyone, including Sunrise Drywall Co., make sure you've got answers to these:
- What's included in the quote? Does it cover materials, labor, cleanup, and texture matching? Are there any hidden fees you should know about?
- What's the estimated timeline? Get a realistic idea of how many days the project will take, including drying time.
- What kind of dust control measures do you use? We use plastic sheeting and air scrubbers, but every company is different.
- Who will be doing the work? Is it a crew, or just one person? Are they employees or subcontractors?
- Do you carry insurance? This is non-negotiable. You need to know they have liability insurance and workers' comp. Ask for proof, really.
- How do you handle unforeseen issues? Sometimes we uncover more damage once we start. What's the process for discussing and approving additional work?
- What's your warranty on the work? A reputable contractor stands behind their repairs.
- How do you handle payment? Is a deposit required? When is final payment due?
Asking these questions upfront protects you and ensures everyone is on the same page. A good contractor won't mind answering them; in fact, we expect it. We want you to feel confident in your choice. Getting your drywall repaired properly means a smooth, seamless finish that you won't even notice was ever damaged. That's the goal, and with a little planning, you'll get there.